Setting up a dedicated charging station for your devices can save you time, reduce clutter, and keep your gadgets powered and ready to go. Whether you have smartphones, tablets, smartwatches, or other rechargeable gadgets, an organized charging area helps manage cords efficiently and creates a neat space that fits your daily routine. In this guide, we’ll take you through the steps of creating a practical, easy-to-maintain charging station for your home or office.
Why Set Up a Charging Station?
With multiple devices requiring daily or frequent charging, tangled cords and misplaced chargers can become stressful. A charging station:
– Consolidates power sources in one spot
– Reduces cable clutter
– Helps track device charging status easily
– Protects devices by using appropriate chargers
– Creates a designated spot for your devices, reducing loss or forgetfulness
What You’ll Need
Before you start, gather the essential items to build your station:
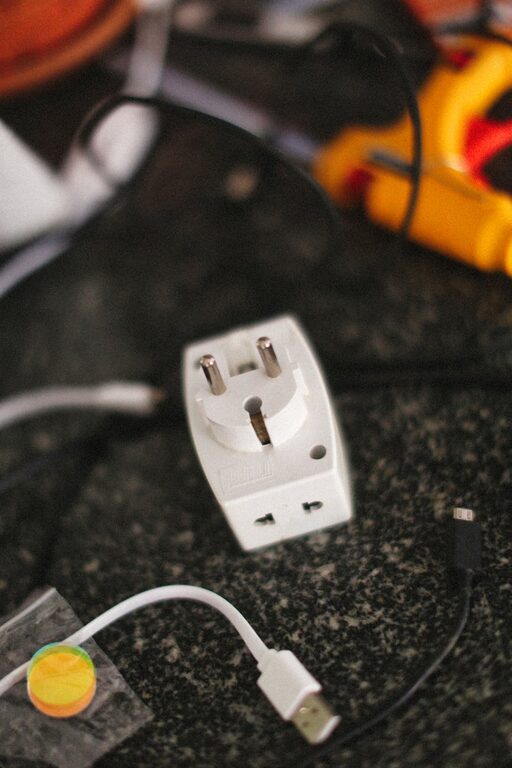
– Power strip or charging hub: Choose one with multiple USB ports and standard outlets
– Charging cables: Ensure you have the right cables for each device
– Organizer or container: This can be a drawer organizer, box, or shelf with compartments
– Labels or tags: Useful to mark cables or charging spots
– Cable ties or clips: To keep cords neat and prevent tangling
– Comfortable location: A spot near a power outlet and accessible for daily use
Step 1: Choose the Right Location
Pick a space that suits your lifestyle and device habits. Common choices include:
– A desk or workspace
– A side table in the living room
– A kitchen counter
– A nightstand in the bedroom
Make sure the area has easy access to power outlets and is free from excessive moisture or heat. It should also have enough surface area for all your devices.
Step 2: Select a Charging Base
Depending on your device types and number, choose either:
– Multi-port USB charger: Useful for phones, tablets, and smaller devices. These chargers usually have several USB-A or USB-C ports.
– Power strip with USB ports: Combines traditional outlets and USB charging, ideal if you use a mix of chargers.
– Wireless charging pad: Perfect for compatible smartphones and earbuds, and can reduce cable mess.
Avoid overloading chargers; check the amperage and compatibility to protect your gadgets.
Step 3: Organize Your Cables
Cables can easily become tangled, so organization is key.
– Sort cables by type and length: Use shorter cables for the station, if possible.
– Label your cables: Simple tags or colored tape help you quickly identify the right one.
– Use cable ties or clips: Velcro straps or plastic clips prevent knots and keep cables in place.
– Route cables neatly: Arrange them behind or beneath the organizer for a clean look.
Step 4: Set Up the Organizer
Depending on your preference, you can use:
– Drawer organizers: Great for hiding chargers and devices.
– Open boxes or baskets: Allow easy access to devices.
– Custom shelves with dividers: Offer more space and separation.
Place the charging base inside or behind the organizer and make sure cables reach the devices without strain.
Step 5: Arrange Your Devices
Place your devices on or inside the station while charging.
– Leave some space between devices to prevent overheating.
– Use stands or holders for tablets and phones to keep screens visible and accessible.
– Consider rotating devices depending on use or daily charging needs.
Step 6: Maintain Your Charging Station
Regular upkeep keeps the station functional and tidy.
– Clean dust and debris weekly.
– Check cables for wear and replace damaged ones.
– Reorganize cables as needed, especially when adding new devices.
– Monitor device charging to avoid overcharging.
Bonus Tips for a Smarter Charging Station
– Use smart plugs or timers: Automatically turn off the charging station to save energy.
– Add a small light: A soft LED helps find the station in the dark.
– Incorporate a charging schedule: Helps maintain battery health and manage device availability.
– Customize your station: Paint the organizer, add decorative elements, or use tech-themed stickers for personality.
Conclusion
A well-planned charging station brings order to your devices and simplifies daily charging. With a few simple tools and some organization, you can create a customized space that fits your technology needs. Follow these steps, and you’ll enjoy a clutter-free environment where your devices are always powered and easy to find.
Happy charging!